Classic Bagel in Just Two Ingredients For Only 3 Points
If you have been following the Weight Watcher diet for a while, or even if you have just done your reading, you will know that greek yogurt is ‘free’ in terms of the Weight Watcher’s points system.
To that end, we have used it as a replacement for a twist in the classic bagel to make sure that you can enjoy breakfast, lunch, or dinner with only 3 points spent on the base of your meal!
The second ingredient is self-raising flour. Self-raising flour is magical in that it cuts out the need for yeast. Yeast is not an issue in terms of Weight Watchers, but it can be a pain to work with when you are trying to figure out proportions, as it can rise at unpredictable rates.
It also is life, so it needs to be refrigerated and watched; unlike self-raising flour which can stand in your cupboard ready for action whenever the mood takes you.
Related Reading || 7 Weight Watchers Bread Recipes
The Recipe:
Prep Time: 10 minutes
Cook Time: 25 minutes
Total Time: 35 minutes
Servings: 8 bagels
Calories: 151
Ingredients:
2 cups self-raising flour
2 cups nonfat plain Greek yogurt
1 large egg (for wash)
Tools:
- Baking Tray
- One large bowl
- Spatula
- Cooking spray
- Baster
- parchment/baking paper
Instructions:
Step 1:
First, you want to preheat your oven to 375 degrees F. While that is heating up, set up your workstation by placing a piece of parchment paper over a baking sheet, and lightly coat it with cooking spray. Lightly flour a clean space of counter or table for kneading.
Step 2:
Pop both cups of self-raising flour into your large bowl, and then add in your 2 cups of nonfat plain Greek yogurt. Using your spatula to mix through until it becomes a rough dough texture.
Step 3:
This is not the end result of your dough. Once you have a rough mixture, stable enough to start kneading, you can dump your mixture out onto your prepared workspace. Knead the dough by hand for about 5 minutes, or until it becomes smooth and elastic. If you find that your dough is sticky you can give it a light sprinkle of flour as needed.
Step 4:
Take your dough and divide it into 8 equal parts. This next part is up to you, you are going to shape the bagel however you are comfortable - see below for shaping notes. Ultimately you are going for a classic bagel round shape with a hole in the middle; however, you get there is up to you.
Step 5:
Place your bagels on the prepared parchment paper. Lightly baste your egg over and around each bagel. For best results, you can also whisk your egg before basting.
Make sure that you give each bagel their own space, as they will rise in the oven and you want to avoid them sticking together. It is definitely not the most tragic thing if they do stick together.
Many professional bakers sell them this way intentionally, but for our sake and the sake of our egg wash, let’s try and not have them touching.
Step 6 (optional):
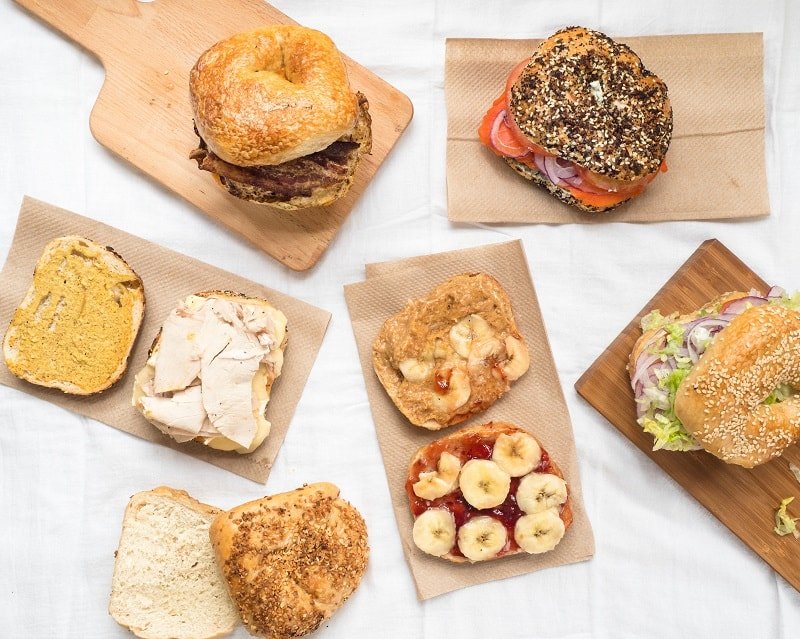
At this point, you can add your toppings. See below for some great ideas on how to top your fluffy creations.
Step 7:
Pop them in the oven for approximately 20 minutes. Rotate the baking sheet sporadically as you go making sure they are evenly baked through. After 20 minutes take them out of the oven.
Then increase oven temperature right up to 450 degrees F and pop your bagels back in for just 3-4 more minutes. This will give your bagels that crisp finish while keeping the insides nice and light.
The Great Bagel Debate: The Shaping
Bagels originated in little towns all over Eastern Europe. They started popping up at delis as migration grew and now can be found at almost all bakeries and cafes. It is unclear what the ‘correct’, or even ‘traditional’ way of getting that round shape with the hole in the middle is, as the tradition of these baked goods is so widely spread.
The popular method is to roll out your dough into a long roll and then connect your rope of dough into a circle, leaving the middle free.
Alternatively, you can mold your dough into a round roll and pull right through the middle until you have pulled right through. The downside to this method is that you must make sure to pull out enough dough to be sure that the hole will not close up as it rises in the oven. The upside is that it leaves you with a fluffier, more wholesome bagel.
Both methods will leave you with a classic bagel, it really depends if you want to bite into something light and fluffy, or if you are more concerned with shape and crispy coating as the rope version can be thinner.
Related Reading || Cranberry Banana Bread Weight Watchers Recipe
The Egg Wash
An egg wash is one of those baking steps that are both necessary and delicious. An egg wash means that your bagel will not stick or dry out in the oven. It is also incredibly tasty. It gives your bagel a nice sheen and holds any toppings you want to add to personalize your baked masterpiece.
Be sure not to use too much, you are not going for an eggy taste; only a light glaze is necessary to protect your bagel and give it that crisp finish.
Bagel Toppings to Drool Over
How can you improve a bagel? You can’t, is the correct answer. But sometimes you are in the mood for something a little sweeter, sometimes savor, sometimes it’s a texture thing.
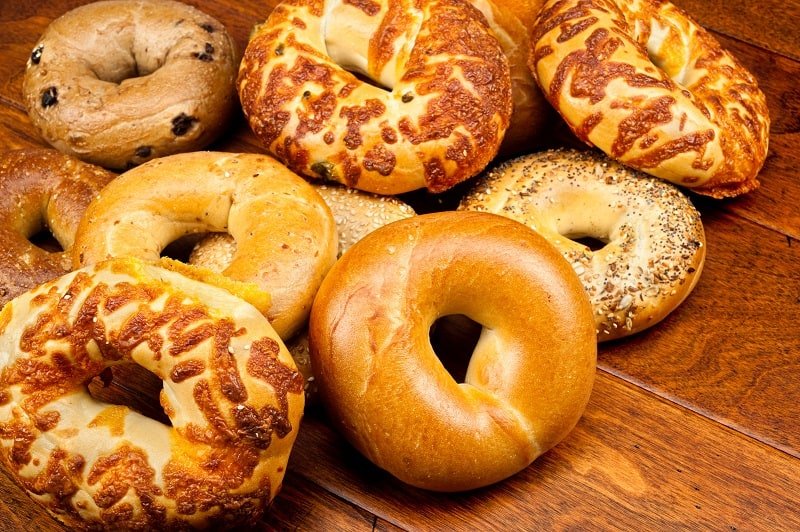
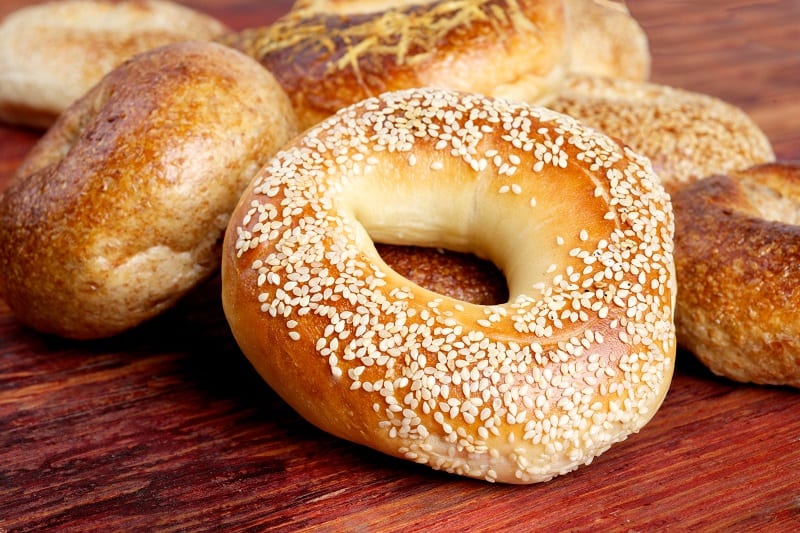
You can top your bagel with sesame seeds, chia seeds, or do a whole mix. If you want a savory finish, try an everything bagel, which traditionally has a mixture of different seeds, grains, and even lightly fried onion.
A cinnamon crust is a fat-free addition that adds that little pinch of flavor for an incredible breakfast treat.
Bagel additions don’t just have to be toppings, either. Try adding in blueberries, or dark chocolate chips into your dough for a sweet surprise in your bagel. All for only 3 points!


cameron
How about using a donut pan? I have one which I've used for baking donuts with excellent results, plus baked donuts are a bit healthier. But a donut tray would definitely solve the shaping issue. Someone let me know if you think this is a good idea.